Pool Tile Grout Repair Services Overview
Visitors will learn about local contractors who specialize in pool tile grout repair services and how to compare options to find the right provider.
- - Pool owners seeking professional grout repair to restore the appearance and integrity of their tile surfaces.
- - Property managers or homeowners needing reliable local contractors for ongoing or one-time pool tile maintenance.
- - Individuals comparing nearby service providers to find experienced specialists in pool tile grout restoration and repair.
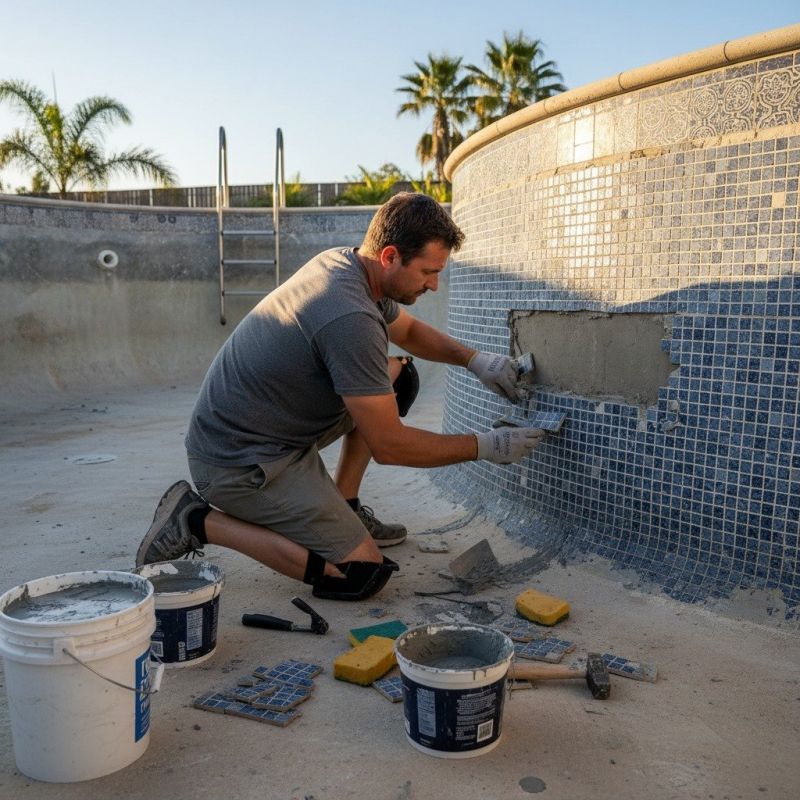
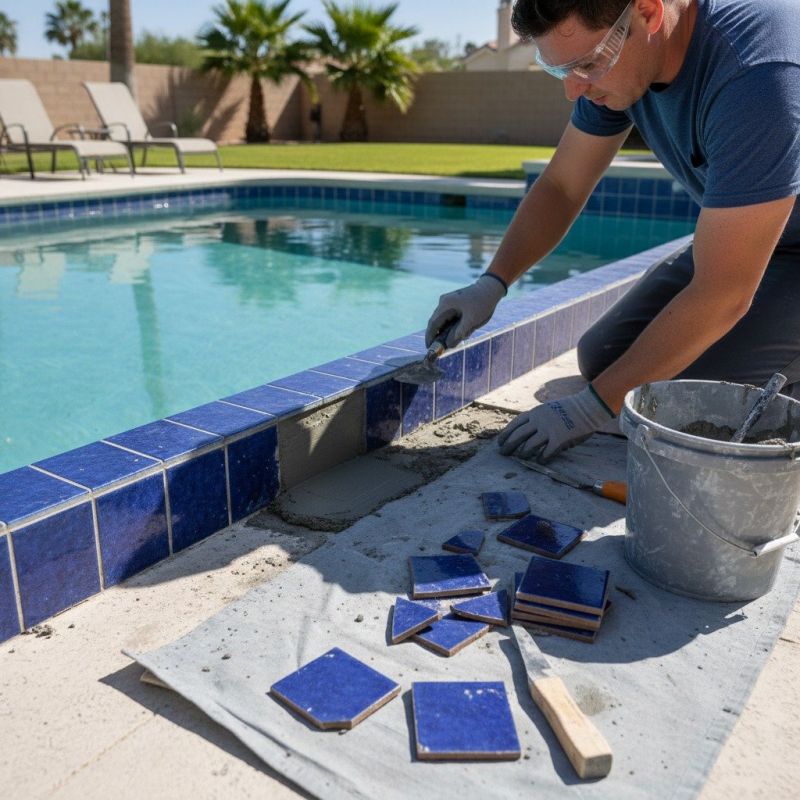
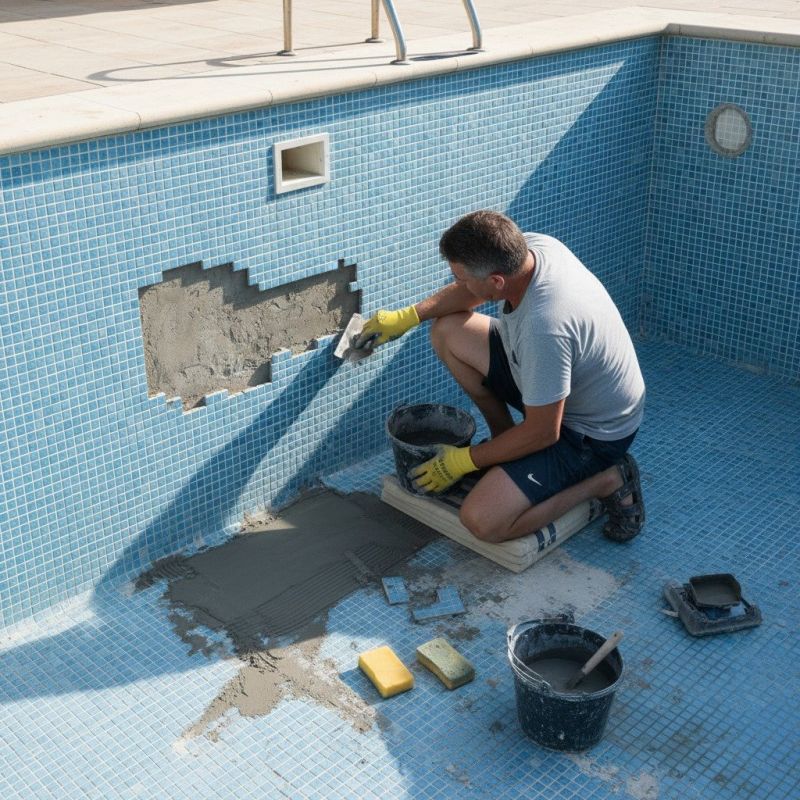
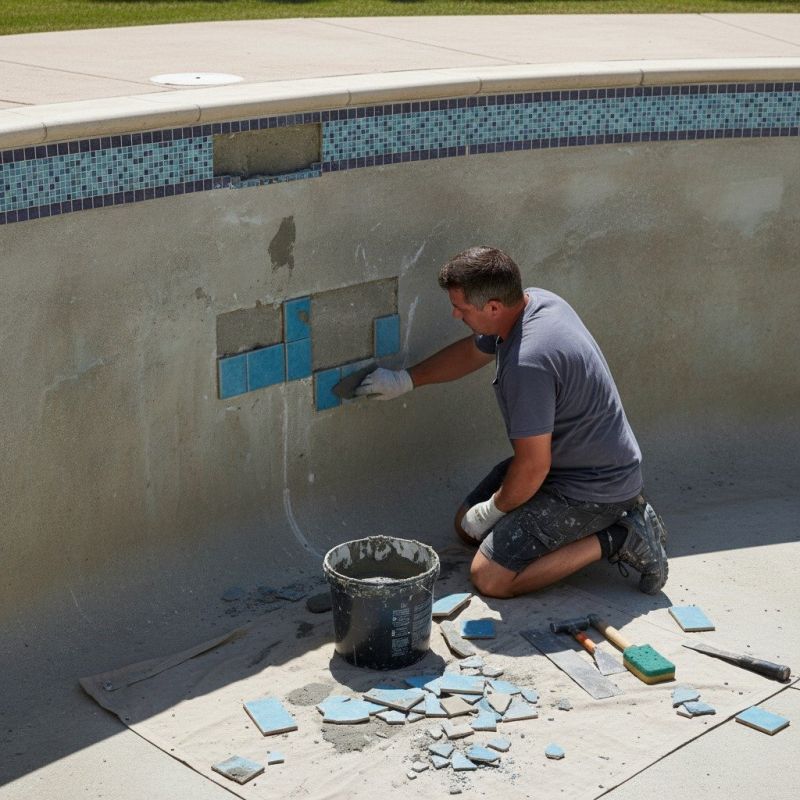
Pool tile grout repair is a common service sought by property owners who want to maintain the appearance and functionality of their pool surrounds. Over time, grout can become cracked, stained, or deteriorated due to exposure to water, chemicals, and weather conditions. Local contractors specializing in pool maintenance and repair often handle these jobs, offering services that include removing damaged grout, cleaning the area, and applying fresh grout to restore the pool’s aesthetic and structural integrity. Homeowners typically look for experienced professionals who understand the unique requirements of pool tile systems and can deliver durable, long-lasting results.
Connecting with local service providers ensures access to specialists familiar with the specific types of pool tiles and grout used in the area. These professionals can assess the condition of existing grout, recommend appropriate repair methods, and execute the work efficiently. Whether addressing minor cracks or extensive damage, property owners can expect to find contractors who prioritize quality workmanship and proper materials to help extend the life of their pool’s tile surface. This approach makes it easier to find the right local experts for grout repair projects that match individual needs.
This guide provides helpful information to understand the process of pool tile grout repair and what to consider when choosing a service provider. It assists in comparing local contractors and understanding the basics of the work involved. This can help prepare for discussions with local service providers and make informed decisions about your project.